Assumptions:
This is not an introductory Django course so I am assuming that:
- You have a working knowledge of the Django framework and the Python programming language.
- You are comfortable writing shell commands and running commands in the terminal.
- You already have Python installed. Version 3 preferably
Therefore I will not be going into details about some of the concepts in this tutorial.
Create the project directories:
|
1 2 3 |
mkdir tutorial-dockerize-django cd tutorial-dockerize-django mkdir backend |
We first created the tutorial-dockerize-django directory that will contain all the files for our project. We then create the backend directory that will keep all the files related to the backend. This is useful when we will also need to create our frontend or mobile app.
Creatig and activating the virtual environment:
|
1 2 |
python3 -m venv env source env/bin/activate |
The first lines create the virtual environment called env in this case and on the second line we activate it. Note: the (env) in your command prompt.
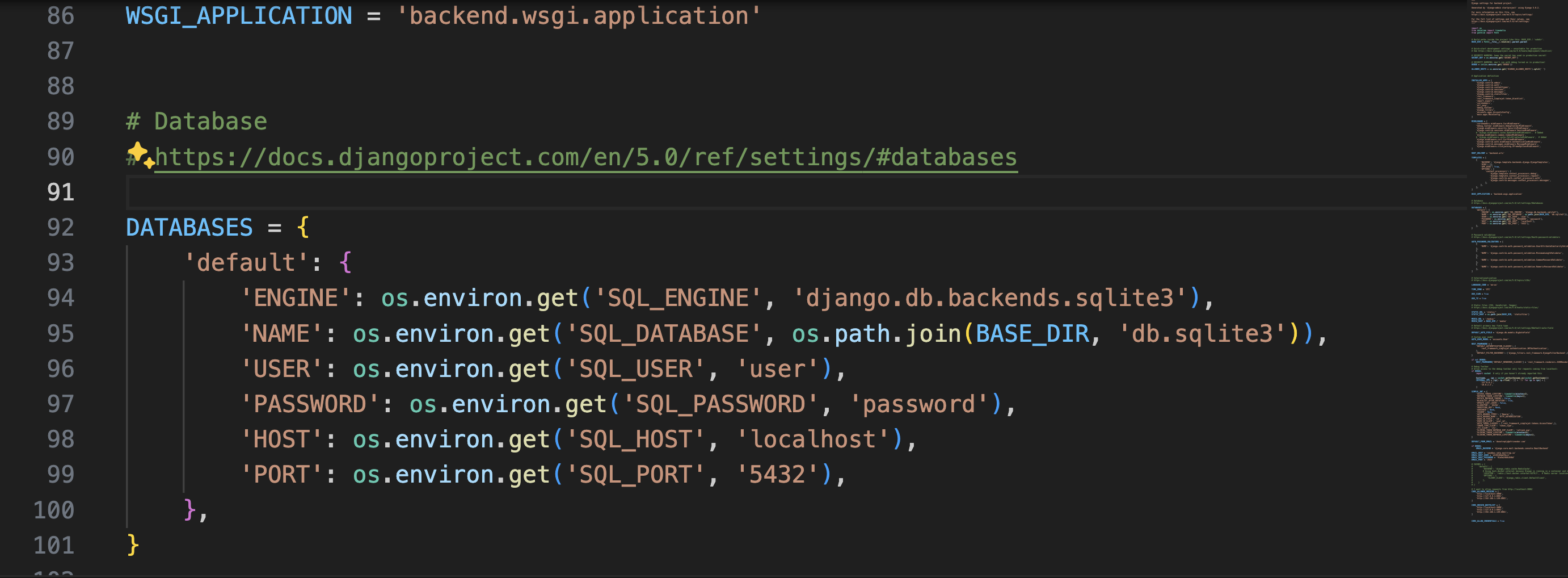
Installing dependencies:
We will need to install the Django package to be able to create a django project. First, let’s create a requirements.txt file inside the backend directory and add the following code:
|
1 2 |
Django==5.0 psycopg2-binary==2.9.9 |
These commands will install the Django package as well as the psycopg2-binary package that will be needed for us to be able to use PostgreSQL as a database with our Django app.
To actually install the packages, run the command below inside your backend directory:
|
1 |
pip3 install -r requirements.txt |
This will read the content of the requirements.txt file and install any packages listed in it, inside our virtual environment.
If you want to check that the packages have been installed, you can run the command:
|
1 |
pip3 list |
Django is installed so we can now create our project.
Creating the Django project:
|
1 |
django-admin startproject backend . |
We use django-admin to create a new project called backend. By default, this command will create a new directory called backend. However, since we are already inside a backend directory so we use the “.” to indicate that the current directory should be used to hold the project files instead of creating a new one.
This command will generate the project with all the necessary files. Your project should look like this:

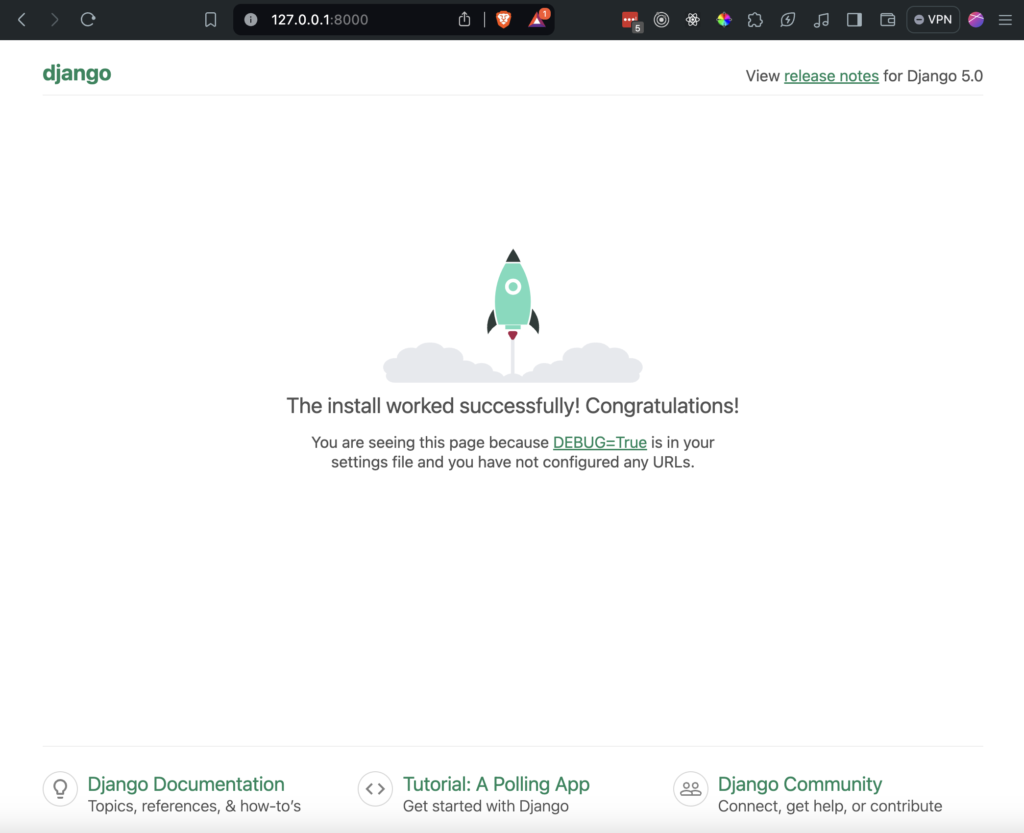
We can test our project by running the following command:
|
1 |
python manage.py runserver |
This will start our project at 127.0.0.1:8000. You can visualise it in your browser.
Our base project is good to go. The next step is to dockerize the project.