Technology is supposed to make your life easier not make it harder. It is main purpose is to save you time so that you can spend your very precious hours, minutes and seconds doing more important stuffs, like writing this article.
And I have just come across a video editing program that will justly serve that purpose. Note that all I really need is to be able to cut out a section of a video. Simple right? It should be, but try doing that in Final Cut.
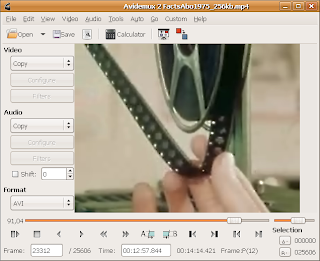
The program that I have been using is Avidemux2. I don’t think the name does any service to this amazing peace of software (Note to the maker: get another name). It’s awesomely simple and straight to the point, as should every software.
Here is the description of the software:
Avidemux is a free video editor designed for simple cutting, filtering and encoding tasks. It supports many file types, including AVI, DVD compatible MPEG files, MP4 and ASF, using a variety of codecs. Tasks can be automated using projects, job queue and powerful scripting capabilities.
Avidemux is available for Linux, BSD, Mac OS X and Microsoft Windows under the GNU GPL license. The program was written from scratch by Mean, but code from other people and projects has been used as well. Patches, translations and even bug reports are always welcome.
So if you are after a simple video editing software to cut videos, you know where to go. Download it here.